Huskies are active, energetic dogs with strong, fast-growing nails that require regular maintenance. While many owners opt for traditional clippers, a nail grinder is often a safer, more precise tool—especially for dark nails where the quick is hard to see. In this comprehensive guide, we'll explore the best nail grinders for Huskies, what features matter most, and how to make the grooming experience stress-free for both you and your furry friend.

Why Choose a Nail Grinder for Your Husky?
Huskies have thick, curved nails that can splinter if clipped improperly. A grinder files the nail down gradually, reducing the risk of hitting the quick (the sensitive blood vessel inside). Grinders also leave a smooth edge, preventing snags on carpets or clothing. For dogs that dislike the pressure of clippers, the gentle vibration of a grinder can be less intimidating—especially if introduced slowly.
Key Features to Look for in a Husky Nail Grinder
Motor Power and Speed
Husky nails are tough. Look for a grinder with a motor between 10,000 and 20,000 RPM. Variable speed settings are ideal, allowing you to start slow and increase as your dog gets comfortable.
Grinding Head Material
Most grinders use sandpaper drums or diamond bits. Diamond bits last longer and produce less heat. Replaceable sandpaper drums are cheaper but wear out faster.
Noise and Vibration
Huskies are sensitive to noise. Opt for a model with low noise levels and rubberized grips to dampen vibration. Some grinders are specifically marketed as "quiet" – a plus for anxious dogs.
Safety Features
Look for a guard that prevents over-grinding (hitting the quick) and a vented housing to avoid overheating. Some models have a built-in LED light to illuminate the nail.
Battery vs. Corded
Corded grinders offer consistent power, while battery-powered (rechargeable) models provide portability. If you choose cordless, ensure battery life is at least 30 minutes of continuous use.
Top 5 Best Nail Grinders for Huskies
| Product | Key Features | Pros | Cons | Best For |
|---|---|---|---|---|
| Dremel 7300-PT | Cordless, 2 speeds (6,000 & 13,000 RPM), lithium battery, pet nail grinding bit | Quiet, lightweight, good battery life, safety cap included | Bit wears out; recharging required | Huskies with moderate nail thickness |
| Andis 2-Speed Nail Grinder | Corded, 2 speeds (8,000 & 14,000 RPM), 2 grinding bands, ergonomic grip | Powerful, no battery issues, low vibration, durable | Noisy at high speed; shorter cord | Thick Husky nails |
| Casfuy Dog Nail Grinder | Cordless, 2-speed (8,000 & 13,000 RPM), rechargeable, 2 grinding ports, LED light | Quiet operation, 2 speed options, built-in light, comfortable for dogs | Battery drains quickly at high speed | Noise-sensitive Huskies |
| Oster Gentle Paws Diamond Bit Grinder | Cordless, single speed (12,000 RPM), diamond-coated bit, 2 grinding ports | Diamond bit lasts long, very quiet, easy to handle | Single speed; bit may slip | Huskies with sensitive nails |
| PetSafe Nail Grinder | Corded, single speed (12,000 RPM), sandpaper disc, simple on/off | Low cost, efficient, easy to use | Noisy, heats up quickly, disc wears fast | Budget-conscious owners |
How to Choose the Right Grinder for Your Husky
Consider your dog's temperament: If your Husky is anxious, prioritize quiet models like the Oster or Casfuy. For extremely thick nails, opt for a powerful corded unit like the Andis. If you travel frequently, a cordless Dremel or Casfuy may be best. Always check replacement part availability.
Step-by-Step Guide to Grinding Your Husky's Nails
Step 1: Desensitize Your Dog
Let your Husky sniff and investigate the grinder while it's off. Reward with treats. Turn it on at a distance, then gradually bring it closer, always pairing with positive reinforcement.
Step 2: Prepare the Tools
Have treats, a towel (for grip), and styptic powder (in case of nicks). Ensure the grinder is fully charged or plugged in. Remove any protective cap from the grinding head.
Step 3: Start Grinding
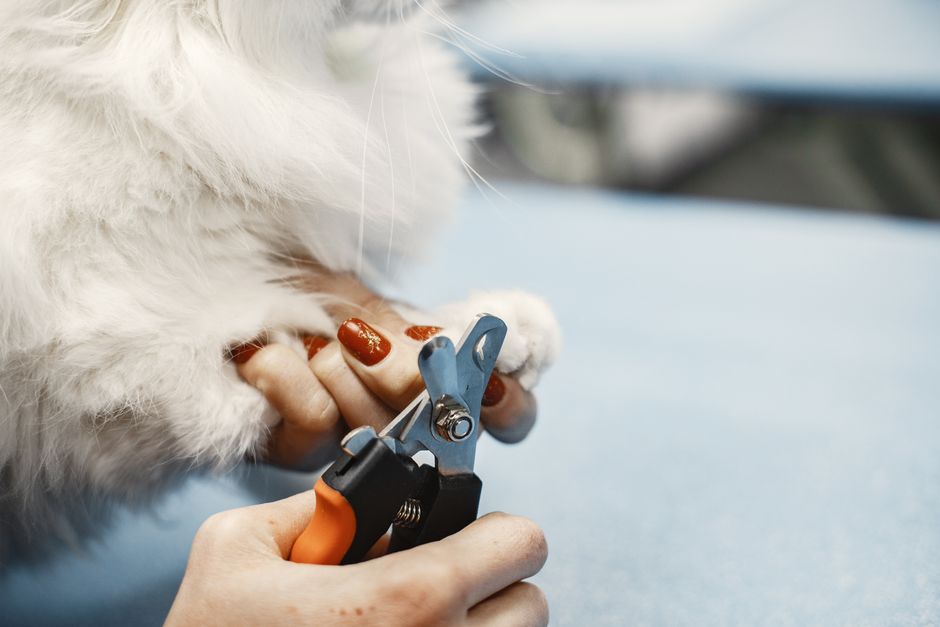
Hold your dog's paw firmly but gently. Place the grinding bit against the nail at a 45-degree angle. Use short bursts (2-3 seconds) to avoid heat buildup. Work from the tip downward, checking frequently for the quick (a pinkish spot on light nails; on dark nails, look for a chalky texture change). Stop before reaching the quick.
Step 4: Smooth the Edges
After achieving the desired length, lightly round off rough edges with a finer grit bit or the same grinder at a lower speed.
Step 5: Reward and Maintain
Praise your Husky and give a high-value treat. Aim to grind nails every 1-2 weeks. Over time, the quick will recede, allowing you to shorten the nails gradually.
Common Mistakes and How to Avoid Them
- Grinding too long in one spot: This causes heat and discomfort. Keep moving the grinder.
- Using a dull bit: Replace sandpaper bands or diamond bits as needed. Dull bits generate more heat and take longer.
- Forcing the grinder: If your Husky pulls away, stop and calm them. Never fight the dog.
- Overlooking the dewclaw: Don't forget the inner nail on the paw (if present).
- Skipping nail maintenance in winter: Husky nails grow year-round; check them weekly even in cold months.
Frequently Asked Questions
Can I use a human nail grinder on my Husky?
No, human grinders are typically not powerful enough and may overheat. Use a pet-specific grinder designed for thick nails.
How often should I grind my Husky's nails?
Every 1-2 weeks. If you hear clicking on the floor, it's time for a trim.
What if I hit the quick?
Apply styptic powder or cornstarch to stop bleeding. Stay calm; your Husky will forgive you.
Final Thoughts
Investing in a quality nail grinder tailored to your Husky's needs will make grooming safer, quieter, and more comfortable. Start slowly, be patient, and reward every step. With the right tool and technique, you'll keep those paws healthy and happy.